
I had just enough fabric left over from my car seat cover to make a diaper clutch! Here’s how to do it:
Supplies
- 1/3 yard each of 2 coordinating fabrics (if either of the prints is directional, you’ll need 5/8 and you’ll have tons of fabric left over. Non-directional fabric is best for this project.)
- 1″ wide velcro
- rotary mat, ruler, and cutter
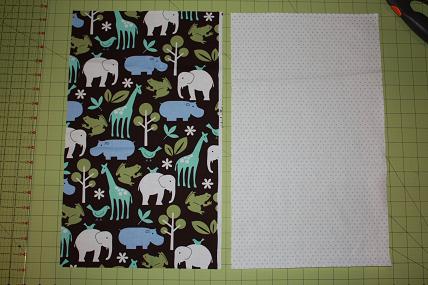
1. Cut 2 rectangles measuring 10.5″ x 17.5″.
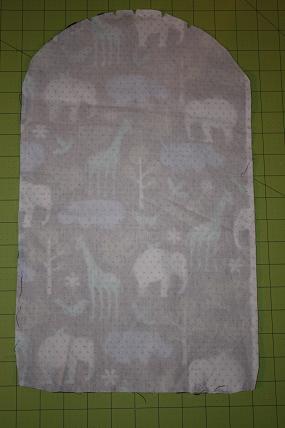
2. Starting about 3.5″ inches down from the top, round the top edge. (You could use a a large plate or fold the fabric in half lengthwise and draw a rounded cutting line. Just make sure the roundness is uniform.)
3. Sew the two pieces, right sides together, leaving a 2″ space to turn.
4. Notch the rounded edge. Trim the 2 square corners.
5. Turn right side out. Press seams and edgestitch all the way around.
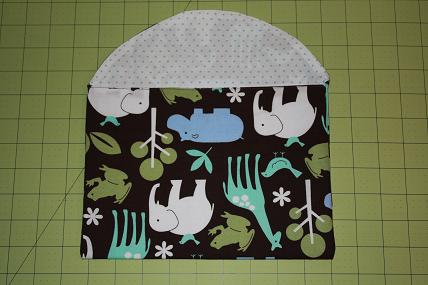
6. Fold the bottom up to where the curve starts to create the pocket and sew up the 2 sides.
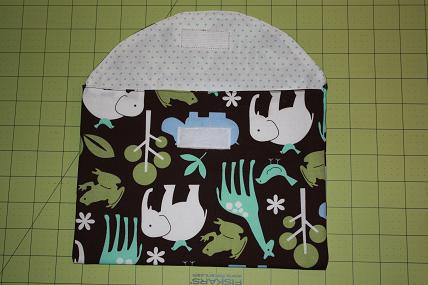
7. Pin velcro in place and sew.
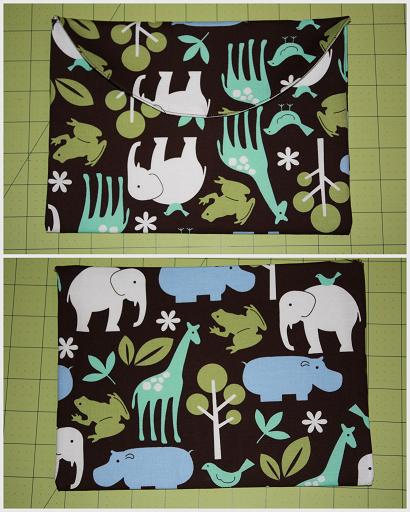
Finished! I made this clutch a little bit bigger than I usually see them because I have to carry around 2 sizes of diapers plus wipes. This is a good size and holds 5 or 6 diapers and a mostly empty container of wipes.
This is another great baby gift! Enjoy!
Way cute Kelsey! I love these for a quick run to the store or somewhere you don’t want to take the huge diaper bag – just a diaper and a small thing of wipes – perfect!
Very easy and I love the elephant print fabric you chose! Thanks for the tutorial!
How creative and such simple instructions. I wonder if I can attempt to make this for a friend that just had a baby. Thanks for the tutorial
if i velcro the sides instead of sewing them maybe it would also be a good changing pad? gonna try it.
This is such a cute idea–and it looks simple enough that I think I can make it! Yay!
My BFF just got a sewing machine for her b-day and I am definitely going to have her make me one of these. Who knows..maybe I will even attempt to learn to sew myself!
I love the fabric you used! Where did you get it?
I used this idea to make a bag to hold spare clothes in my diaper bag.
I love this pattern, but have a question. When you sew it up one step #6 are you doing with the rightside of the fabric together? Or on the outside to create an outside seam? I’ve made them both ways now, but the reason I’m asking is because in your pictures it looks like it was done right sides together, but in the directions it sounds like right side out. I’m a bit confused.
Thanks for your help and the great tutorial!!!
I sewed them wrong sides together, but pretty close to the edge so there’s not really a seam. I didn’t want a huge seam on the inside with 4 layers of fabric. Either way would work though!
You sew the velco on in step 7 however I cannot see the stitching fom the velco on the top side of the flap??