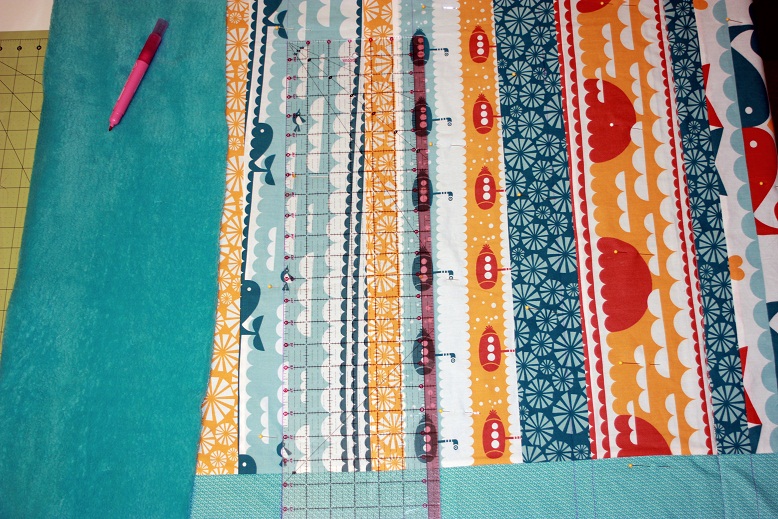
Remember that Marine fabric I wrote about before? I tackled the quilting last weekend and I LOVE how it turned out.
I tried something different this time – I used the generic minky from JoAnn for the backing (I think it’s officially called Soft & Comfy or something like that, it doesn’t have the dots) without batting, and I think it turned out pretty great. I’m going to try backing another quilt with the same stuff and using batting to see which method is easier/looks better, but I’m not sure it will matter all that much.
Here are some tips I follow when machine quilting:
1. Always pin/baste first.
I have machine quilted two quilts and both times I used straight pins which is a HUGE mistake. I stabbed myself so many times with the whole thing rolled up, etc. Be smart. Use safety pins.
2. Pin on a table and use binder clips to secure your quilt to the table.
I saw that great tip on Hyacinth Quilt Designs the other day. So brilliant.
 3. Draw quilting lines right onto the fabric.
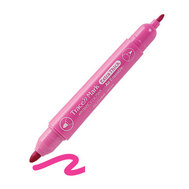
I use the pink AIR ERASABLE “Trace’N’Mark Extra Thick” marker from Clover. The pink shows up on everything and it erases COMPLETELY within about 24 hours.
There’s nothing more frustrating than erasable marking tools that don’t erase, and there is no shortage of those products out there. I was really nervous about this my first time, but it was so perfect. It goes on really easy and erases completely, so if you’re mark happy like me, TRY IT.
4. Cut the backing and batting a few inches larger than the quilt top.
Fabric stretches so plan for it.
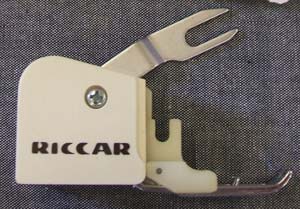
 5. Use a walking foot. (Video tutorial coming soon…)
6. Start quilting in the center.
On that Marine quilt, I decided to do horizontal lines of machine stitching for the quilting. I found the center of the quilt and drew my first line there, then drew lines 6″ apart in either direction. After I sewed all those lines I went back and drew more lines halfway in between my existing ones so my finished quilting is 3″ apart. I’m still trying to decide if I’m going to do it again and end up with quilting 1 1/2″ apart.
Because I used straight pins, I wanted to get them out ASAP, which is why I quilted lines 6″ apart first and then went back and filled the rest in. I wanted to sew it down so I could remove all the pins and stop stabbing myself to death.
7. Baste around the perimeter of the quilt after quilting and before binding.
I find that basting the edges first makes sewing the binding on lots easier – you can work in some of the extra fullness if you have it before trying to sew the binding on.
8. Make and use double thick bias tape. (Another tutorial coming soon)
It’s so much easier to make and makes the binding a little more substantial, which I like the look and feel of. (There are good instructions in Amy Butler’s book Little Stitches for Little Ones if you have it.)
I’m sure there is lots I’m forgetting, but just jump in and try it. Machine quilting is slow going, but it’s easy and FREE! My next goal is to graduate to free motion quilting. I’ll probably end up drawing my pattern on first, which means it’s not really free motion but…baby steps.
Any questions?
Give it a go!


{ 3 comments… read them below or add one }
{ 1 trackback }