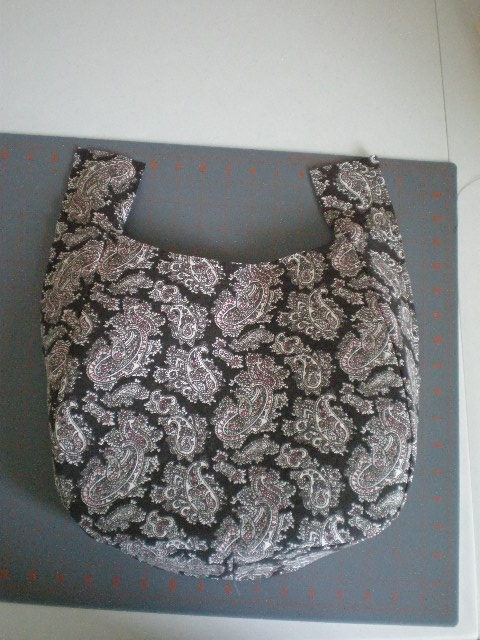
I made this hobo bag a while ago and loved it so much I wanted to teach you how to make it. I love this pattern because it’s easy and very functional – the size is perfect. I use mine almost exclusively now, I like it so much. I would say this project would require an intermediate sewing skill level.
If you’ve never sewed a purse before, you might want to try something else first, but if you’ve had 1 purse making success story, you should be good to go with this one. Good luck!
If you’re new, you might want to check out two other tutorials that I’ve posted on my blog: Hand Made Burp Cloth Tutorial & Pillowcase Tutorial
Hobo Bag Materials and Supplies
1 yard fabric for exterior of bag
3/4 yard fabric for interior of bag
1 yard heavy stabilizer – Pellon 65 or 70 (non-fusible)
1 – 12×18 sheet of plastic canvas
Pair of square or round rings for straps
1 – 9″ zipper for interior pocket
10″ wide x 16″ tall rectangle for interior pocket (or 10″ x 12″ for smaller pocket)
(supplies and pattern from jcarolinecreative.com)
To Begin
1. Download pattern here, and tape pieces together.
2. Preshrink fabric – wash and dry according to instructions on bolt.
3. Pin pattern to fabric and cut out using the instructions on the pattern – match selvedge edge with pattern center front
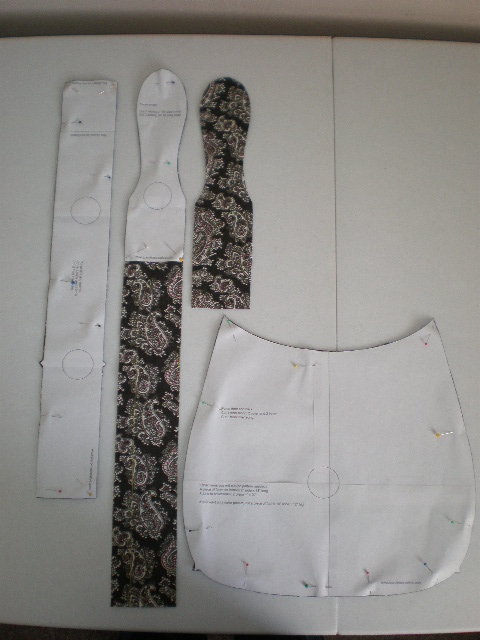
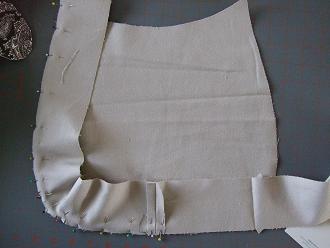
(picture of all four pattern pieces for the exterior of the bag)
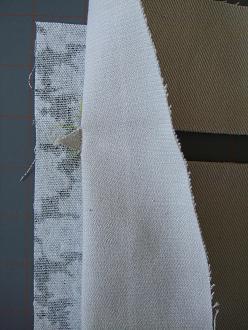
I was confused for a minute about how to cut the purse straps. On the pattern it says, “Cut 2 adding 2 ” for short strap, Cut 2 adding 16″ for long strap.” At first I thought that meant I needed to choose if I wanted short or long straps, but you need to cut both of them. You’ll be cutting a total of 4 purse strap pieces, 2 adding 2″ and 2 adding 16″.
The long purse straps are the two pieces in the middle, the ones that aren’t completely covered by the pattern. Just measure with a ruler, mark with a chalk wheel or fabric pencil, and cut carefully.
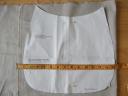

(picture of the lining fabric)
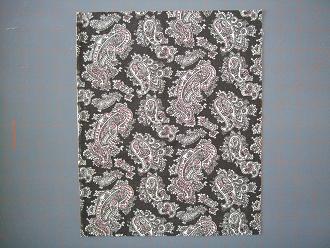
(picture of the pocket fabric)
I cut this piece 10″ wide x 12″ tall. Next time I make this bag I will make the pocket deeper by cutting this piece 10″ x 16″ or 18″. The width is good, so don’t cut it any wider than 10″.
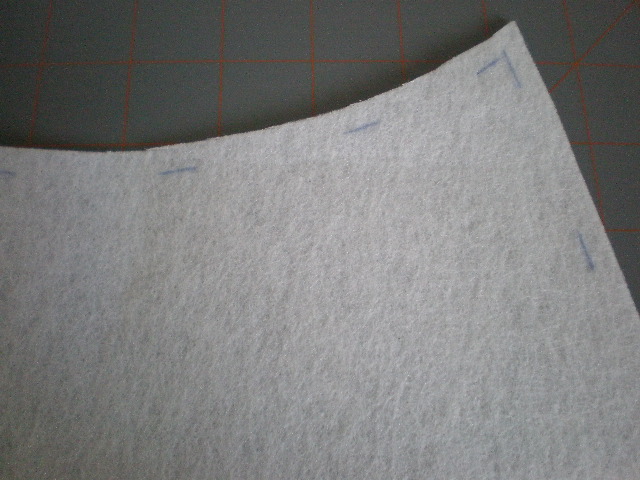
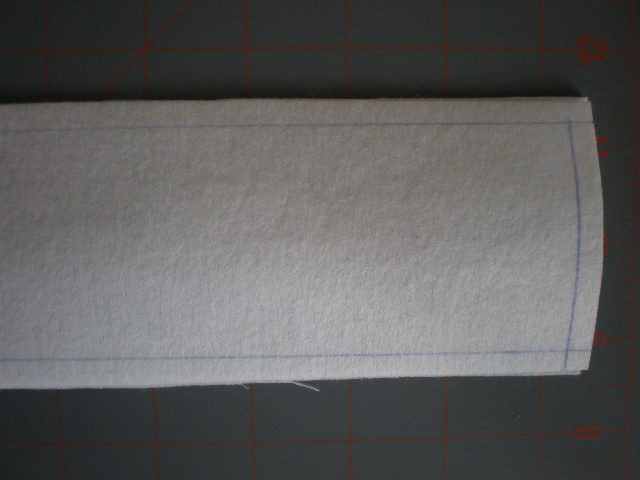
4. Trim interfacing 1/4″.
You want the interfacing to just barely be in the seam allowance.
Cut the interfacing according to the pattern, remove the pattern, and trim 1/4″ off each side of the interfacing for both the bottom/side and front/back pieces. I like to be exact, so I measured and marked my cutting line.
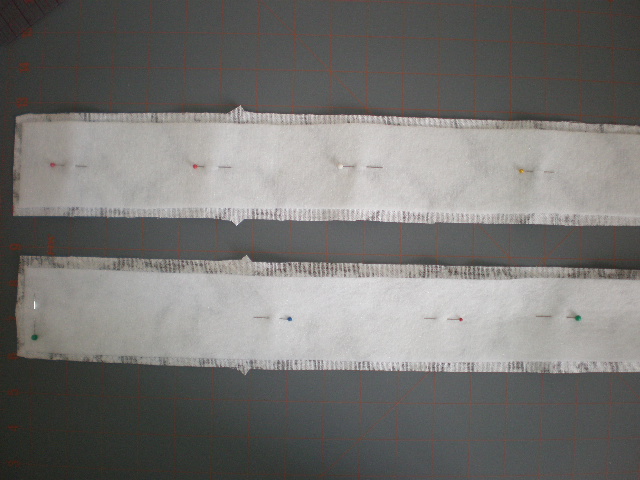
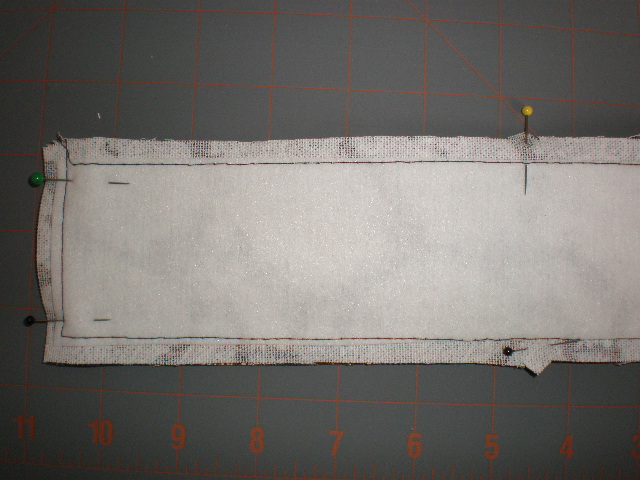
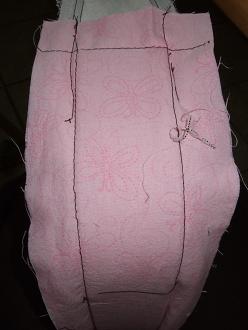
5. Pin interfacing to both bottom/side pieces to the wrong side of the fabric.
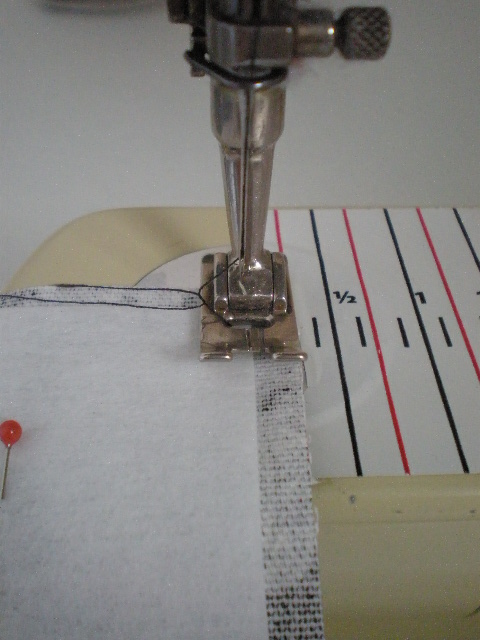
6. Baste (longest stitch length – usually 4) the interfacing to the fabric.
I lined up the edge of my fabric with the right edge of the presser foot so the stitching will be inside the 1/2″ seam allowance.
Sew with the interfacing on top – it’s much easier.
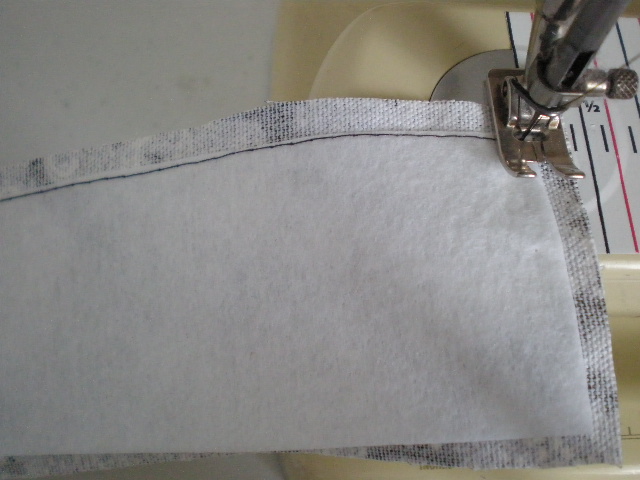
As I got sewing, I decided it was easier to sew without the pins so I took them out. The fabric stretches and the interfacing doesn’t, so just be careful that the fabric stays smooth and even.
7. Sew the two bottom/side pieces together using a 1/2″ seam allowance and regulation stitch length (2.5).
DON’T FORGET TO CHANGE THE STITCH LENGTH!! Sew the two ends closest to the notches.
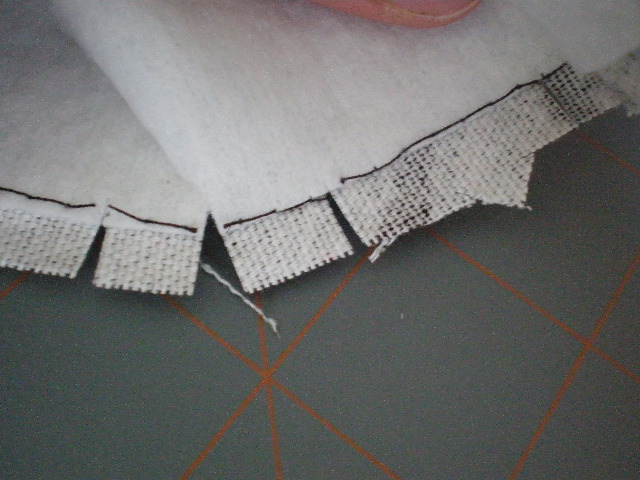
8. Clip bottom/side piece 2 or 3 times on either side of each of the 4 notches.
Clip in a little less than 3/8″ – be very careful to stay inside the seam allowance.
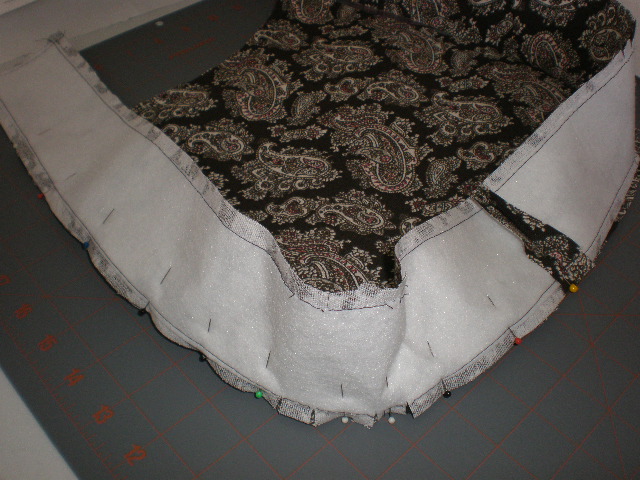
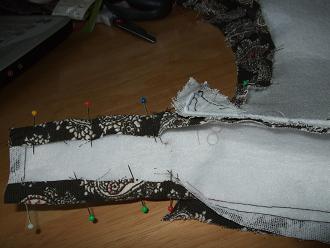
9. Pin the bottom/side piece to the front piece, matching the center seam on the bottom/side pieces with the center notch on the front piece.
Pin one side at a time. You’re going to want to start in the center and sew up one side, flip the bag over, and sew from the center up the other side. This means you’re going to have pins on opposite sides (as seen in the pictures above).
Pin the center first, then match the notches on the two pieces, and then finish pinning the rest. When you sew the bottom/side piece to the front/back pieces, stop sewing 1/2″ from the top of the front/side pieces.
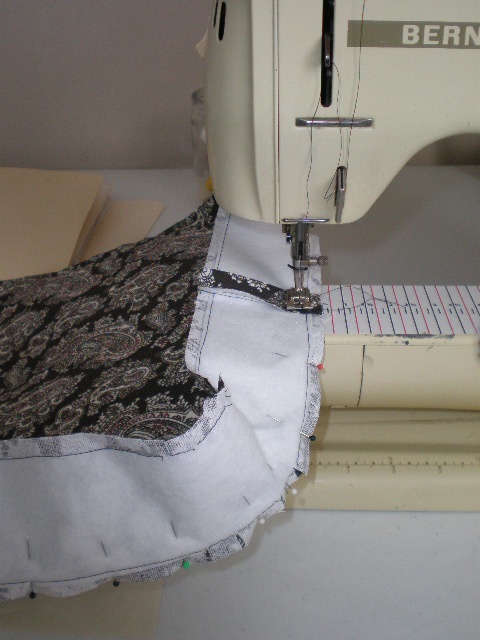
Again, start in the center and sew up the side. When you go around the corner, be careful not to let the fabric get bunched up or you’ll end up with tucks. I find it easiest to sew to about the middle of the curve, stop with the needle down in the fabric, lift up the presser foot, and push the bunched up fabric from in front of the needle to behind it. Lower presser foot and continue sewing.
Remember to stop sewing 1/2″ from the top of the front/back pieces.
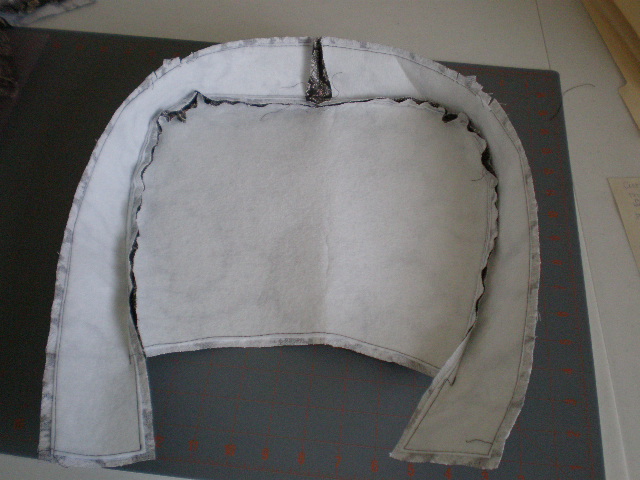
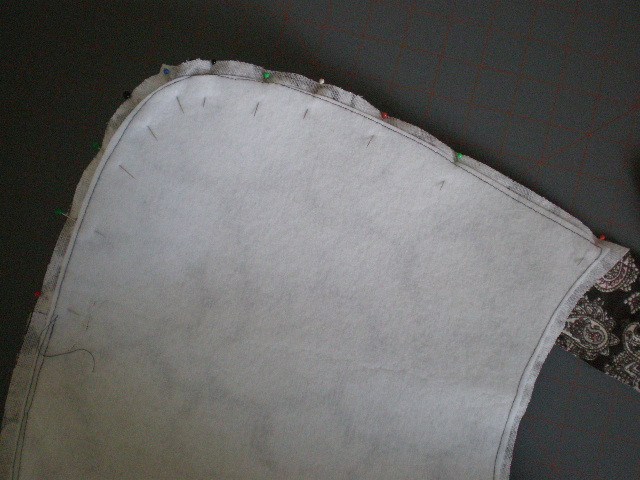
(picture after both sides have been sewn)
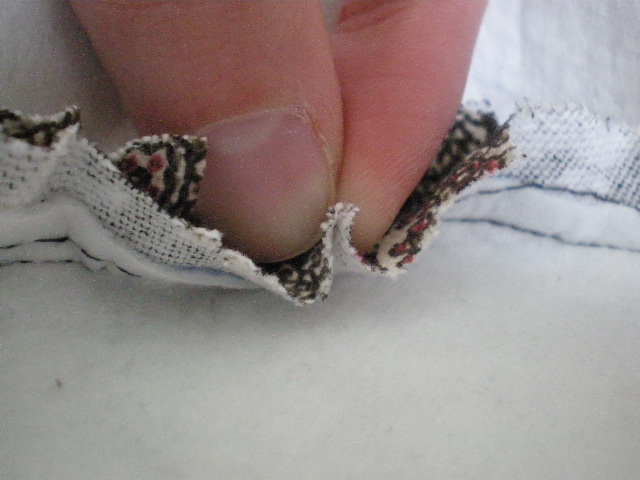
10. Notch the seam allowance on the front/back pieces.
You’re going to have some bunchiness in the curve of the front piece seam allowance. Pinch the excess out with your fingers and snip it off. Getting that extra fabric out of there will help the seam lay down flat. Be careful not to cut too close to the stitching.
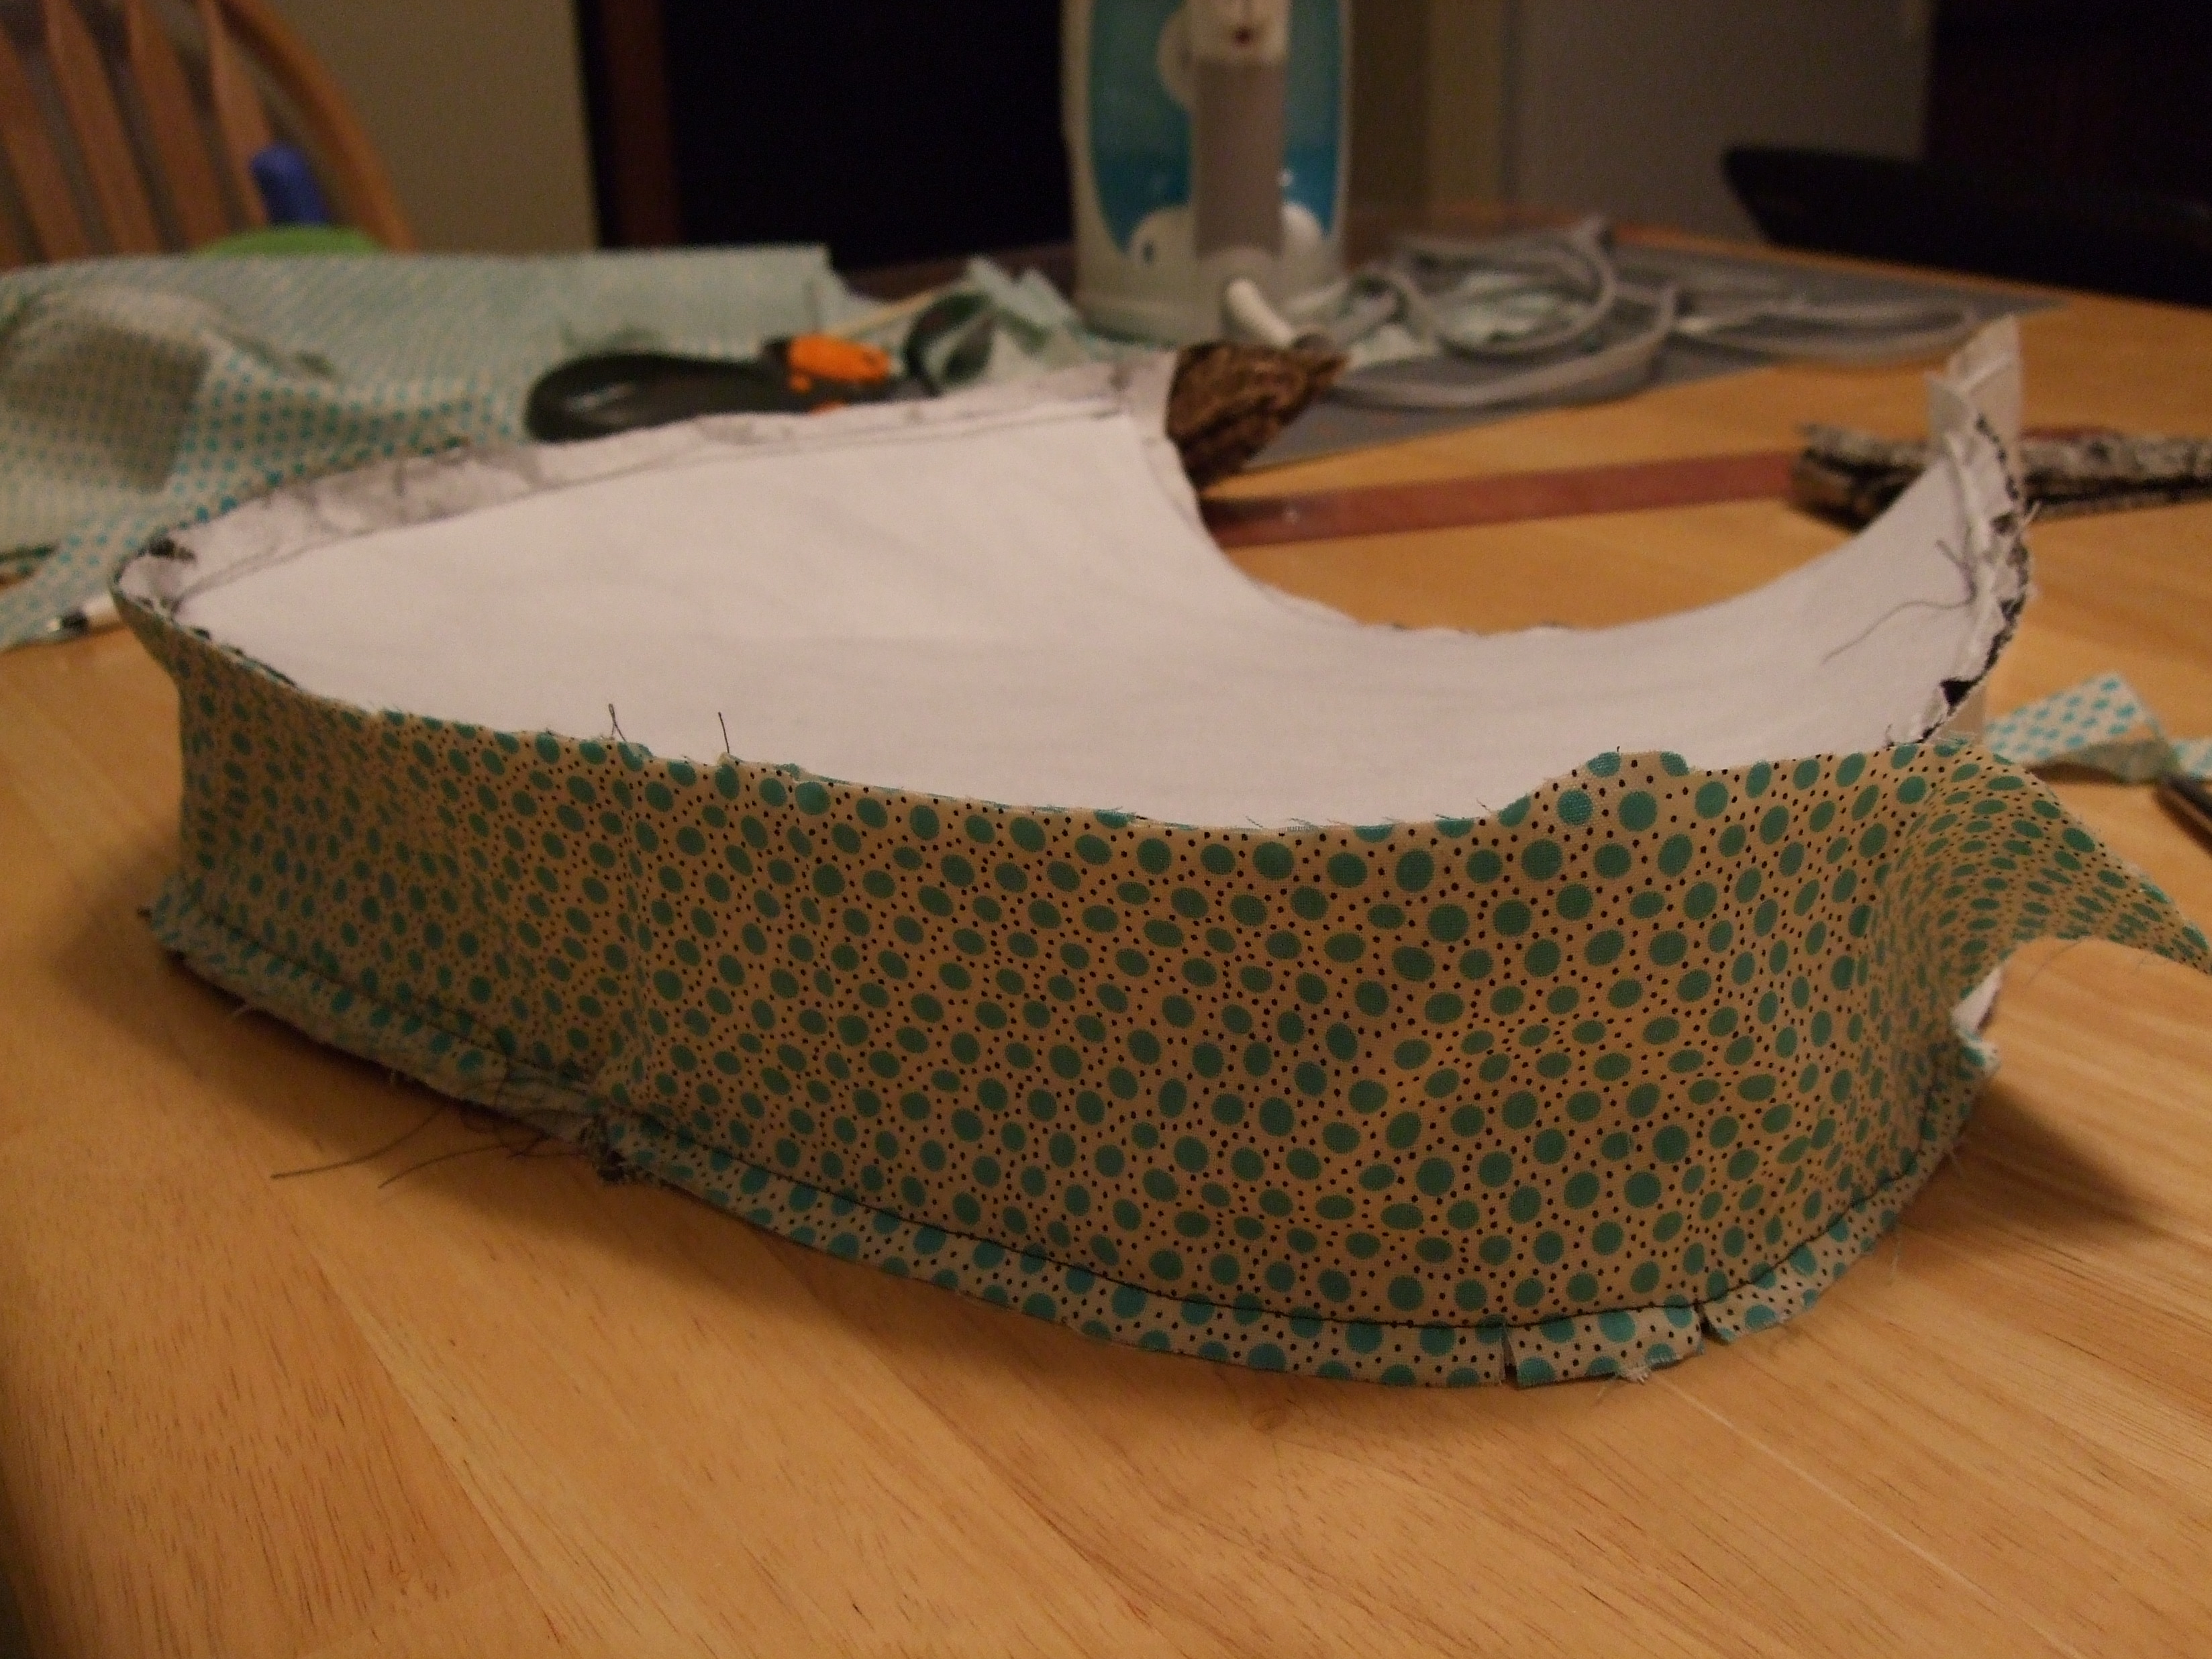
This is what it should look like once you’ve sewn the bottom/side piece to the front piece.
11. Sew the bottom/side piece to the back piece now, using the same method as above.
12. Trim the interfacing down as close to your stitching line as possible.
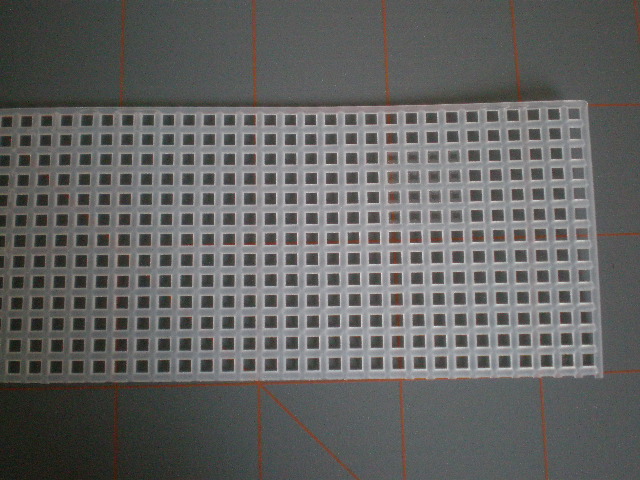
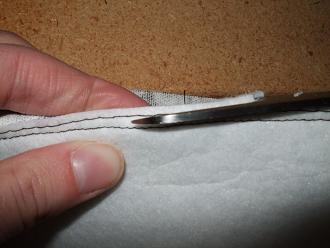
13. Cut a 1.75″ x 18″ piece of plastic canvas. The plastic canvas will help the bottom of the bag to stay rigid.
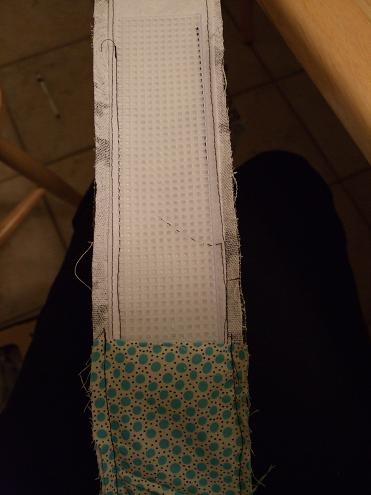
14. Cut two pieces of scrap fabric 4″ x 20″ to enclose the plastic canvas.
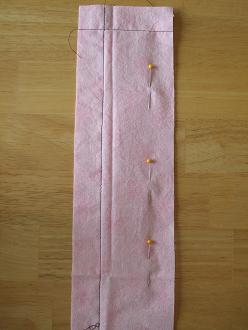
These scrap pieces are now 2″ wider and longer the plastic canvas. To enclose the canvas in the fabric, sew across the top and down one side, 2″ from the edges (as shown above). Then slip the stabilizer piece between the two layers and push it up against the stitching. Pin down the opposite long edge to keep the stabilizer in place and sew using the zipper foot to get your stitching right up next to the plastic canvas. Sew across the other short end last.
Mark the center of the long side of the stabilizer piece by clipping. Be sure to mark the center of the stabilizer, not the center of the fabric. You’ll use this mark to line up the stabilizer with the center front of the bag.
There are two methods for the next step. I prefer the second method, but here are both of them, numbered 15a. and 15b.
15a. Sew fabric-enclosed plastic canvas to the bag seam allowance. Trim all seam allowances to 1/4″. (Don’t trim the sides that extend above the purse.)
Line up center front on the bag and the clip in your stabilizer piece. Pin and sew the stabilizer piece to the bag. Be sure to sew in the seam allowances or you’ll change the shape of your bag.
This step is difficult – the stabilizer is rigid and difficult to keep from shifting. You need the 1.75″ wide stabilizer piece to stay exactly centered in the bottom/side piece of the purse. I had to redo this step several times – finally I decided not to sew around the corners, just along the bottom and then again on the sides.
15b. Cut two strips of scrap fabric, 4″ x 20″, and sew both strips to the seam allowance of the purse along the bottom and side edges (don’t sew them to each other first).

Slip the stabilizer piece in between the two layers. Hand sew across the top of the scrap fabric to enclose the stabilizer piece and keep it from shifting up.
In the first method, keeping the stabilizer piece exactly between the seams was very difficult. Sewing the fabric to the seam allowances and then slipping the stabilizer in after was much easier.
16. Pin the 1/2″ seam allowance on the purse sides that extend above the bag.
17. Topstitch to where the side piece meets the front/back piece (topstitching is sewing on the surface of the fabric, 1/4″ from the edge).
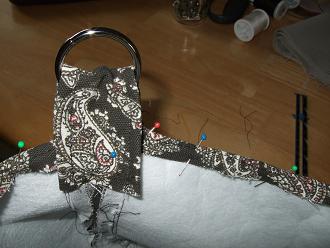
18. Pin down the top of the front and back of bag 1/2″.
19. Thread the side piece through the metal ring and pin down about 1 1/2″ from the top of the bag.
20. Baste all the way around the top of the bag.
After this step you’re finished with the outer portion of the bag for a little while.
Making the Pocket
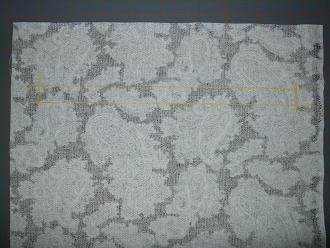
21. With a chalk wheel or fabric pencil, mark a 8 1/4″ x 1/2″ rectangle on the wrong side of the pocket fabric.
The top of the rectangle should be 2″ down from the top of the pocket and 7/8″ in from the left and the right so it’s centered.
22. Find the top center of the pocket and front lining pieces.
Fold the lining fabric and the pocket fabric in half to find the center along the top. Mark.

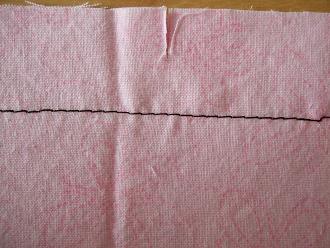
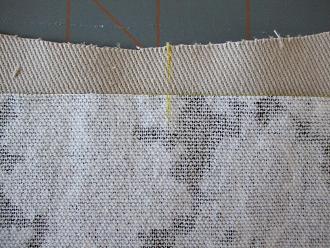
23. Mark a line 1/2″ from the top of the lining fabric.
Draw a line on the wrong side of the lining fabric 1/2 from the lowest point of the top. This is difficult to measure and get straight because the top is curved, but just eyeball it.
24. Place the top of the pocket fabric on that line, matching the centers.
25. Pin the two layers, right sides together, and sew around the rectangle using a shorter stitch length around the corners and the short ends of the rectangle.
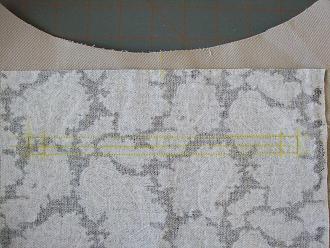
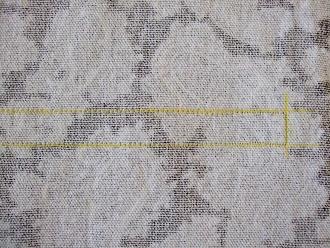
26. Mark a line down the center of the length of the rectangle.
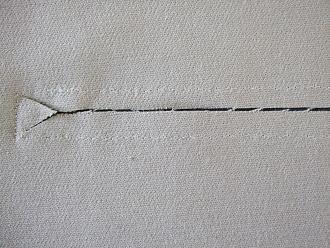
27. Cut carefully along the center of the rectangle and stop 1/2″ from the ends. To be more precise, I marked a line at 1/2″ as you can see in the picture above #26.
28. Cut diagonally into the corners. The closer you can get to the corners without cutting the stitching, the nicer your zipper will look when you’re finished.
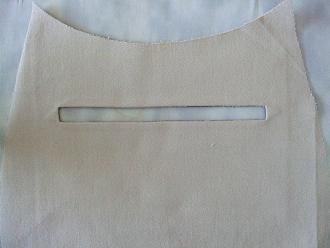
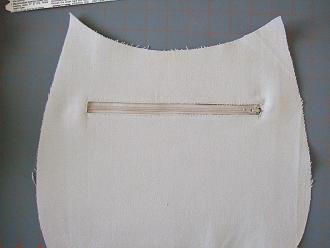
29. Push the pocket fabric through the hole you just cut and press so that the pocket fabric is not visible from the front.
(Back view)
30. Lay the lining piece face up on the table.
Pull back the side of the lining piece to expose that little triangle that was created when you cut diagonally into the corners.
Sew the triangle down to the pocket fabric, as close to the front piece as possible.
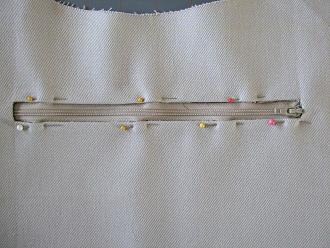
31. Pin the zipper to the fabric around the rectangle.
32. Sew in place.
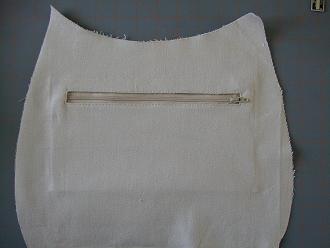
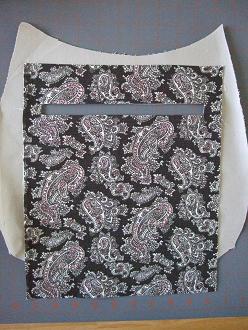
33. Lay the fabric pocket side up.
Fold the pocket fabric in half matching the top and side edges.
Sew around three edges to finish the pocket – you can see the indentation where the pocket is sewed behind the fabric.
34. Sew the side/bottom piece to the front/back pieces.
After this step I got so antsy to finish the purse that I didn’t take pictures.
Here are the rest of the steps:
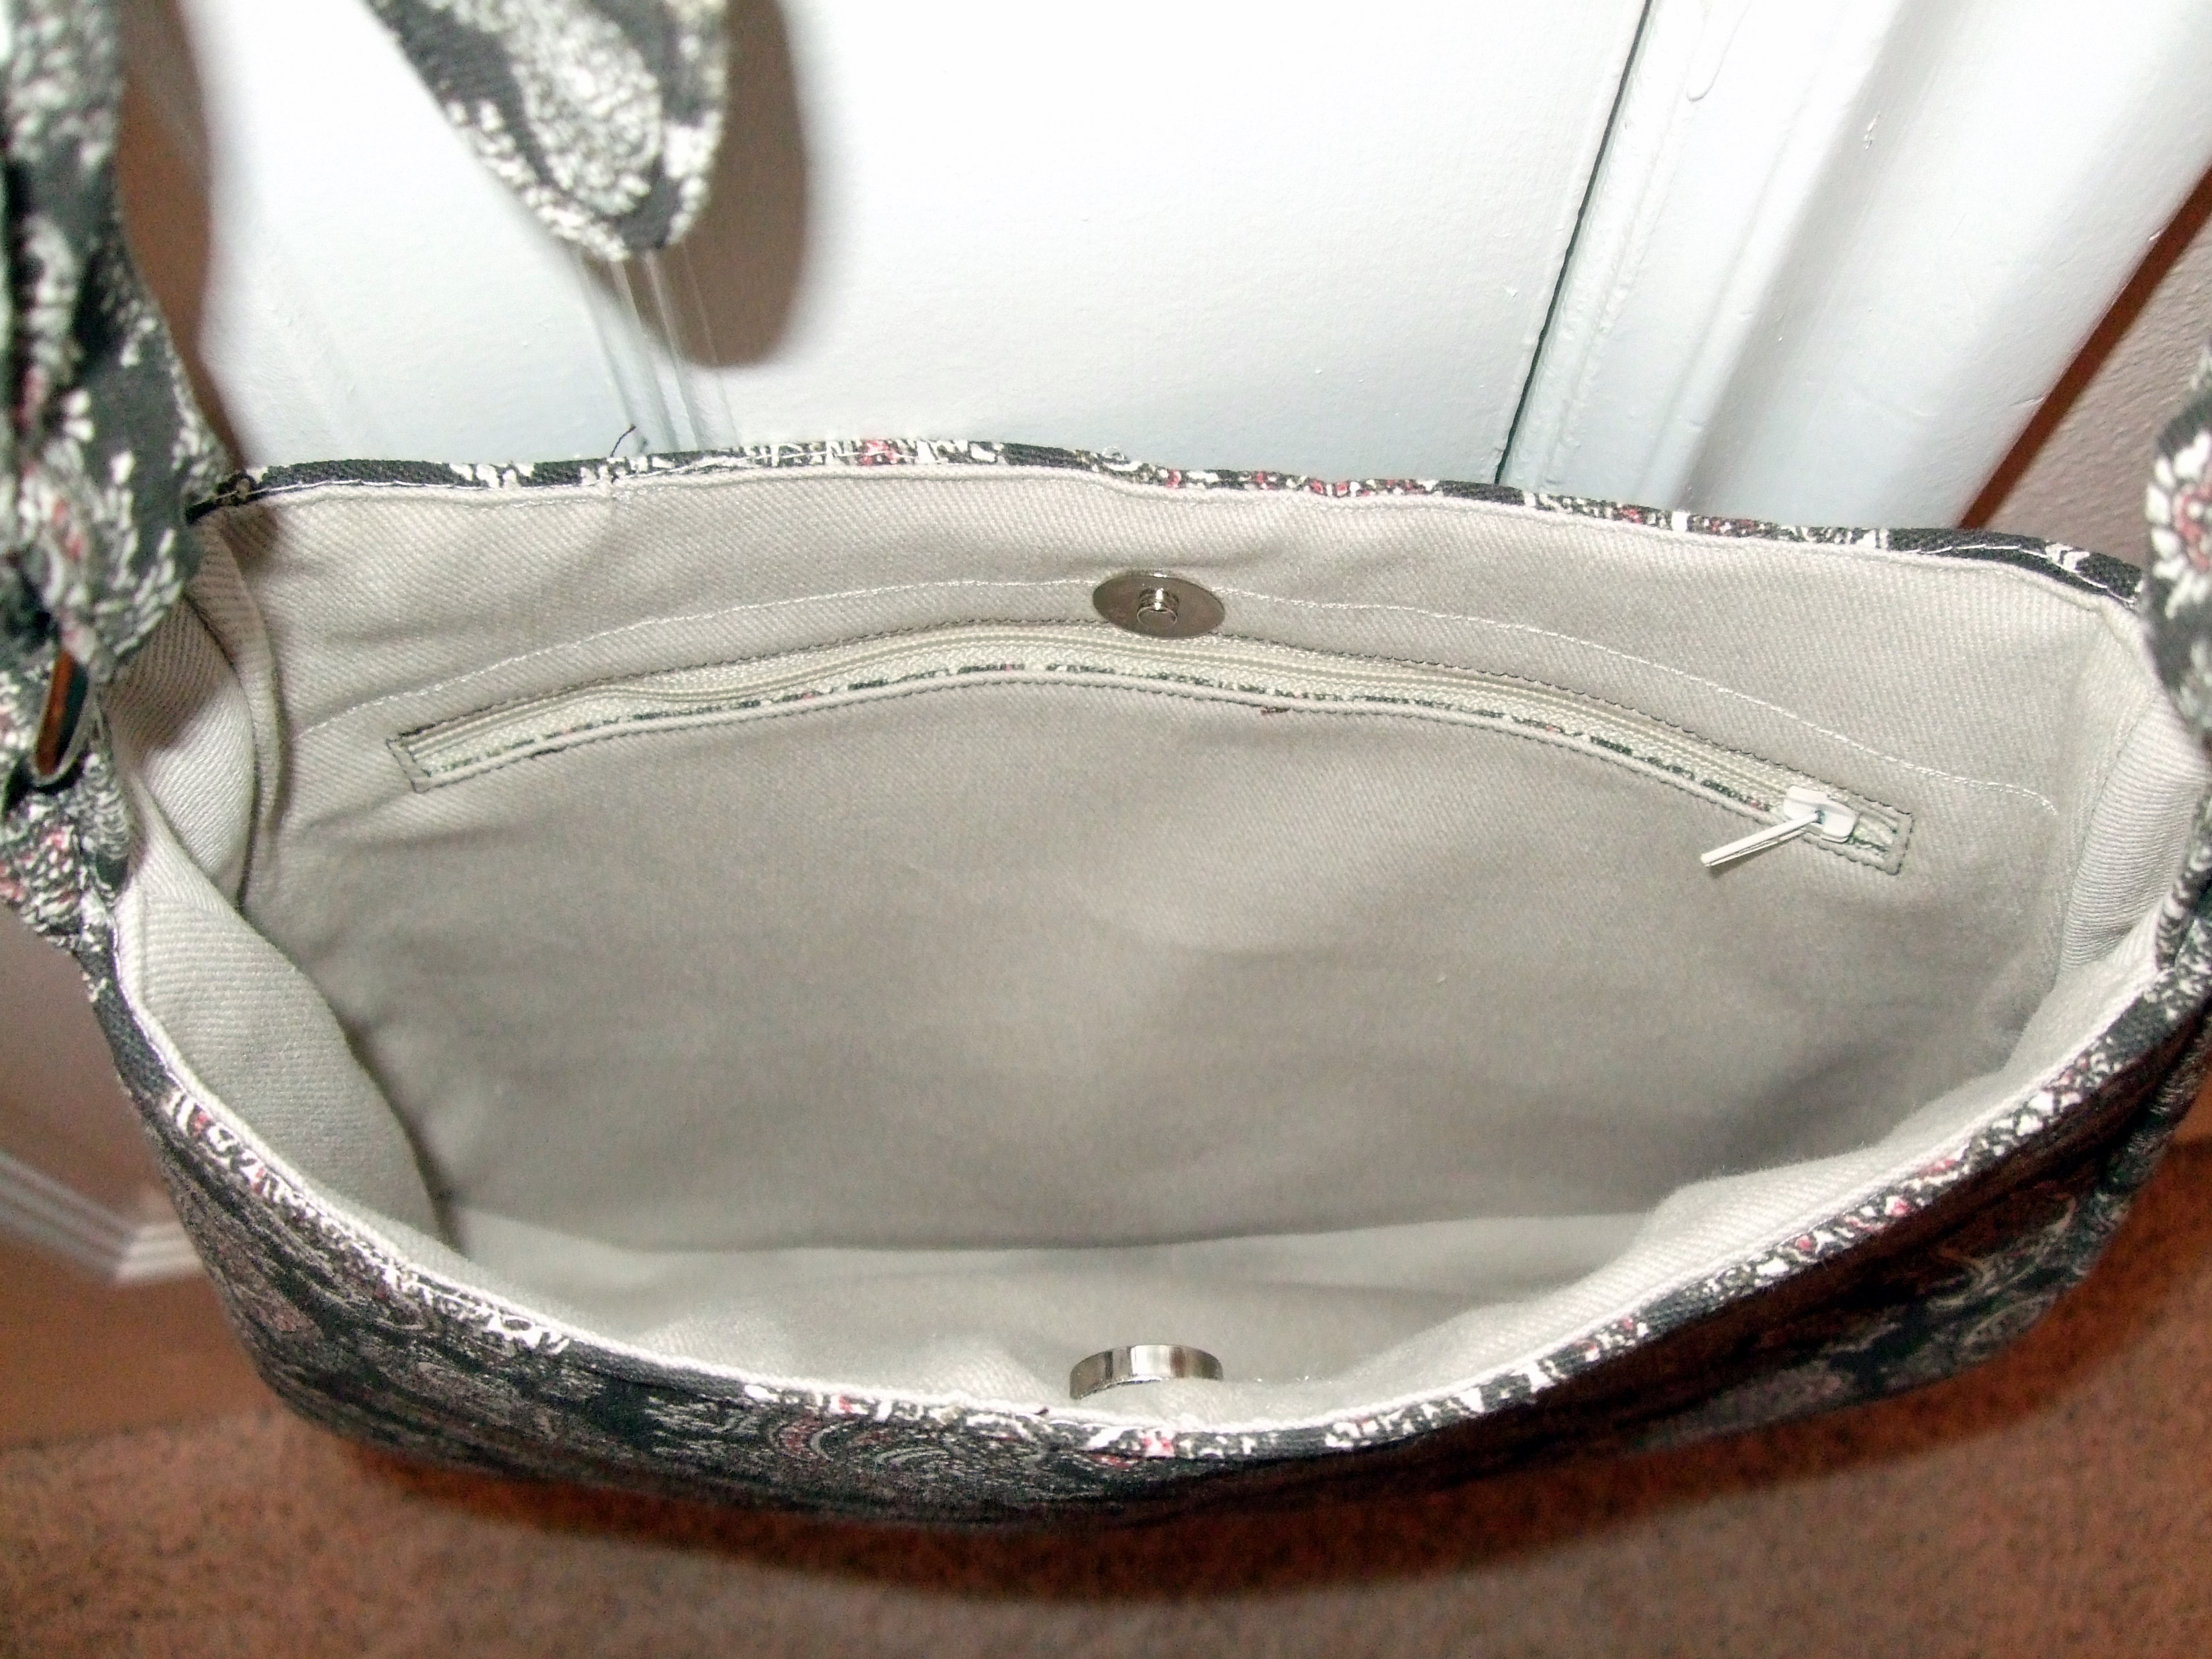
35. After the lining is sewn together (front, back, and sides), put it inside the purse. Pin around the top.
36. Insert magnetic snap:
- Find the center of the purse along the top edge.
- Measure down from the top 2″-3″.
- Dip the prongs of the magnetic snap into some chalk and mark the placement on the interior of the purse.
- Carefully cut two slits through ONLY the lining fabric – you’ll have to cut through the lining and the pocket on the side with the pocket.
- Insert prongs into slits, put backing on, bend the prongs outward to keep in place.
- Attach the magnetic snap. Mark prongs with chalk on the second half of the magnetic snap.
- Touch the opposite side of the purse with the prongs to mark cutting line.
- Cut slits through only lining fabric.
- Insert prongs into slits, put backing on, bend the prongs outward to keep in place.
37. Sew around the top of the bag, 1/8″ – 1/4″ from the edge.
38. Prepare straps:
- Sew straps together leaving the bottom open – you should have two short pieces and two long pieces.
- Trim seam allowances to 1/4″
- Turn inside out
- Press flat
- Turn open end under 1/2″
- Edgestitch all 4 sides (1/8″ from edge)
39. Thread the flat end of the straps through the loops about 1 1/2″ and edgestitch to the other side. Do for both purse straps.
40. Tie two ends together using a square knot.
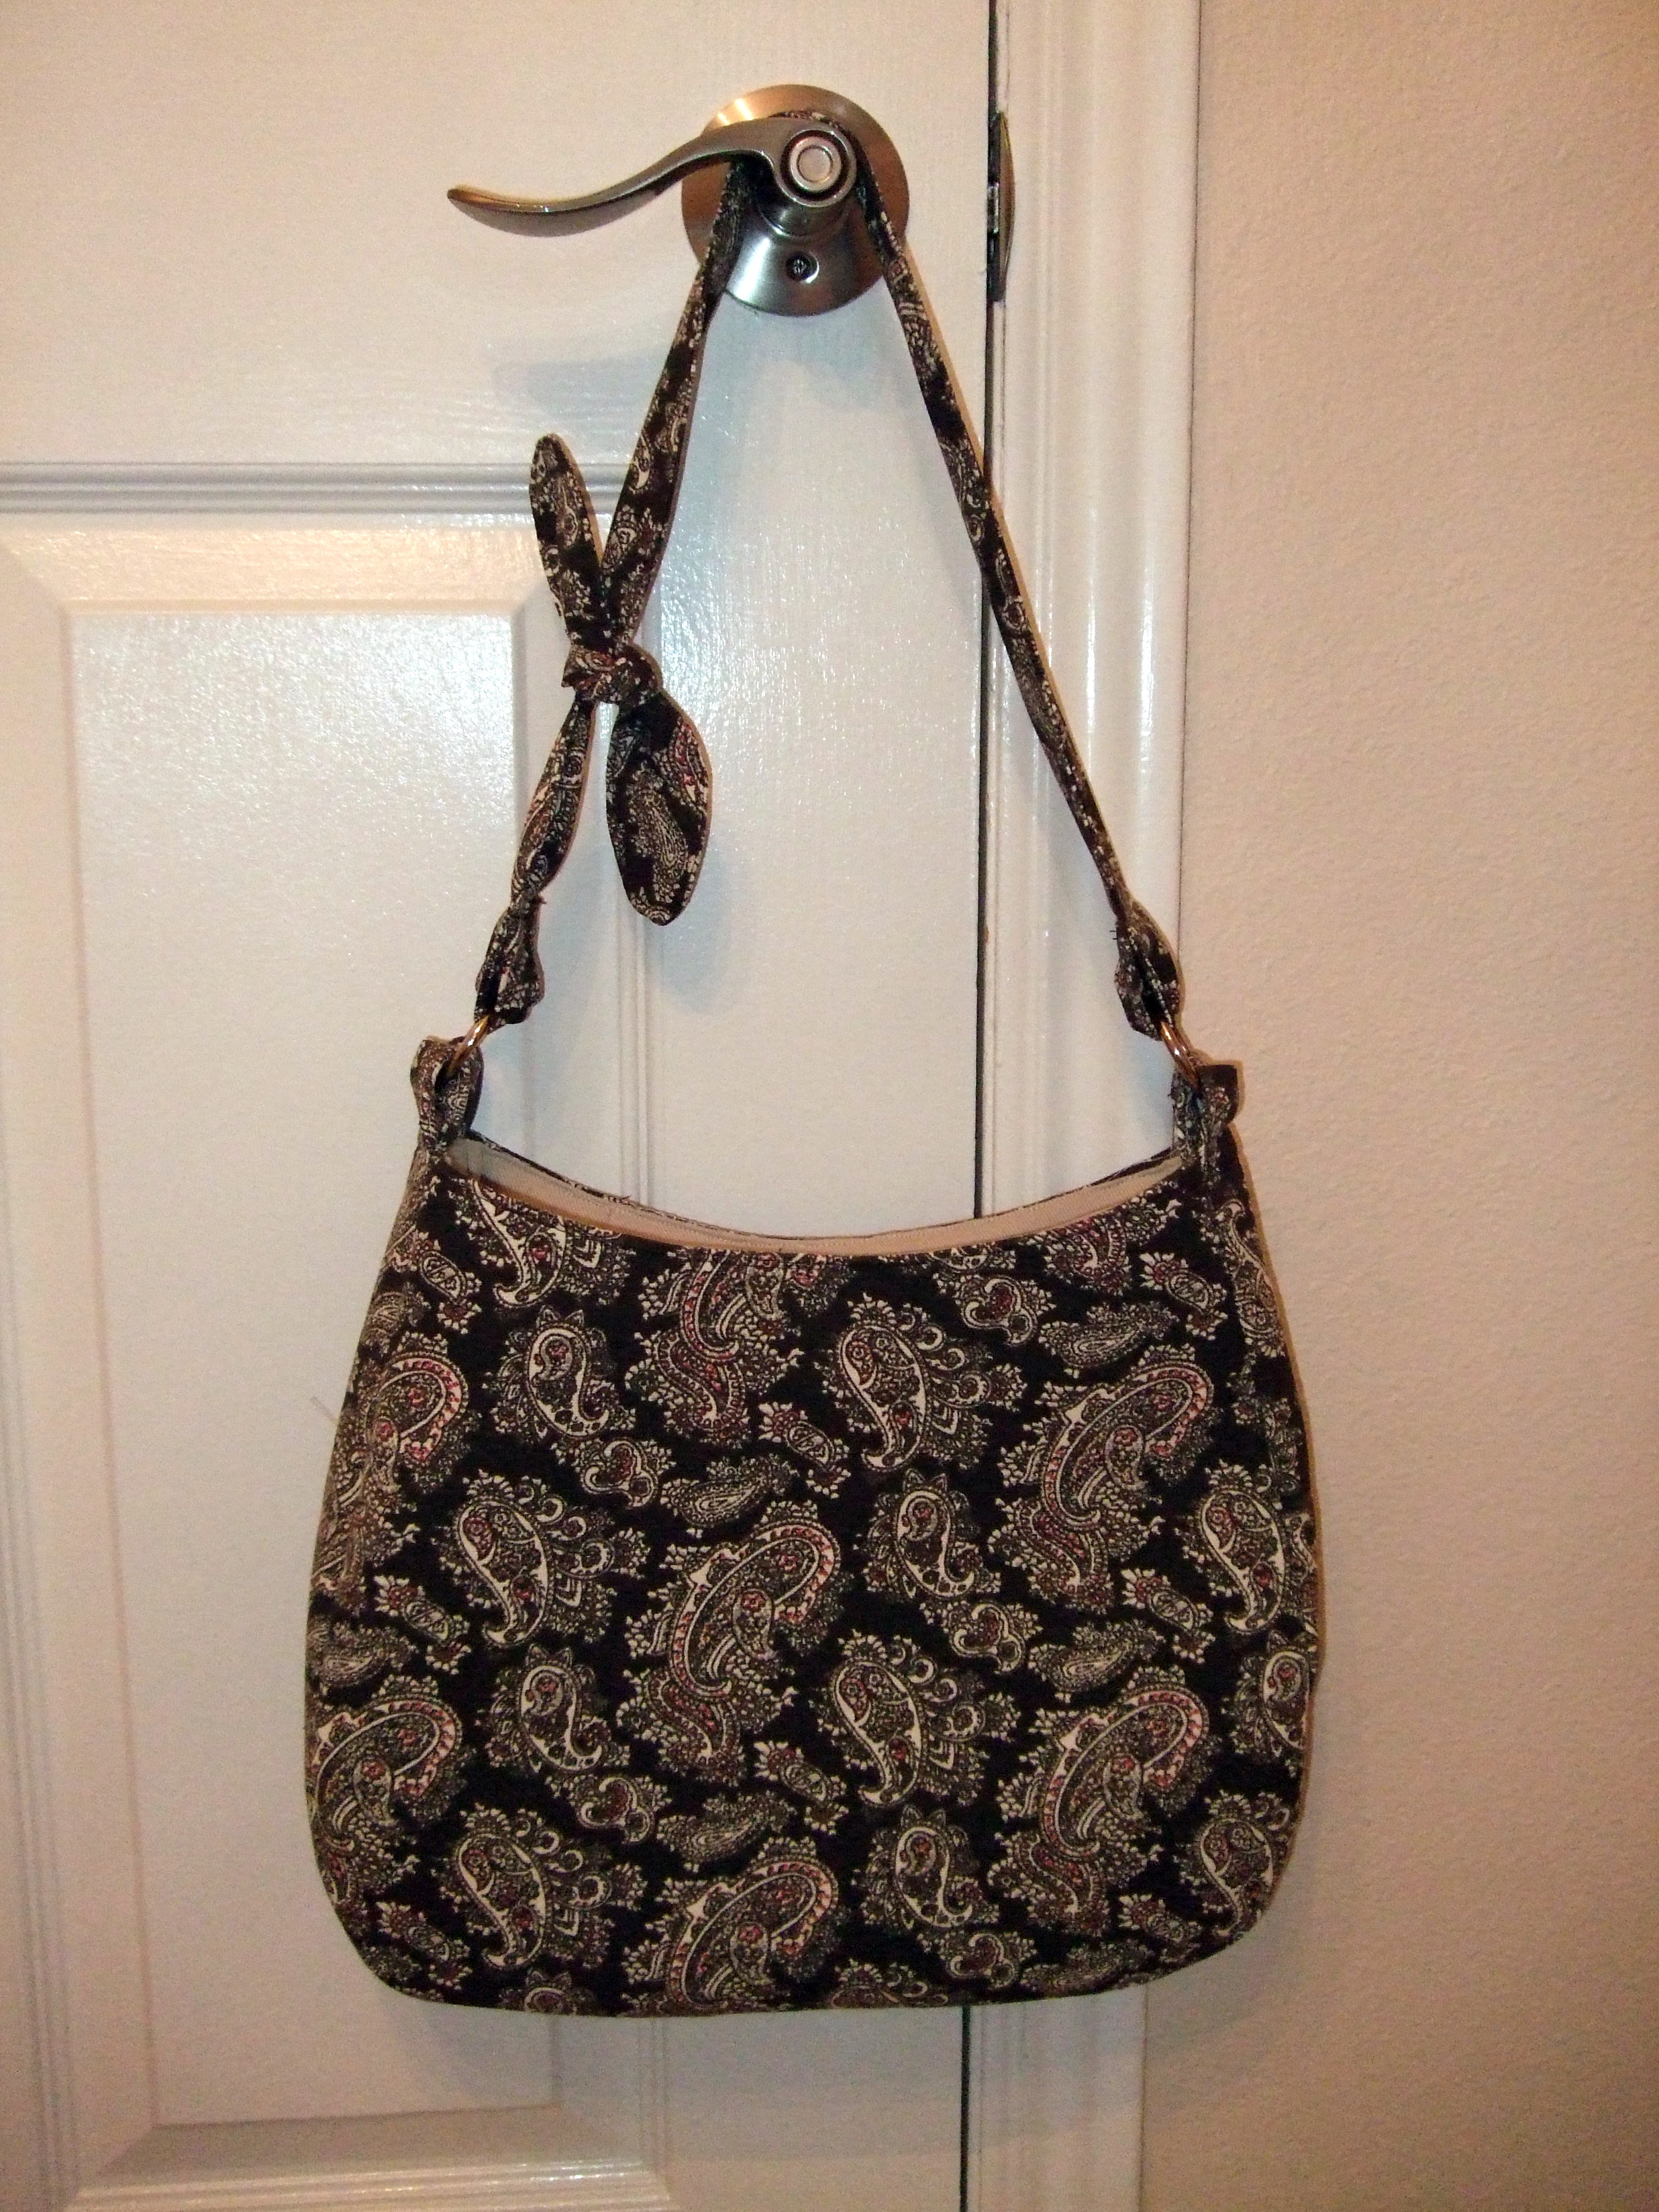
FINISHED! I love my bag!


{ 31 comments… read them below or add one }
{ 12 trackbacks }