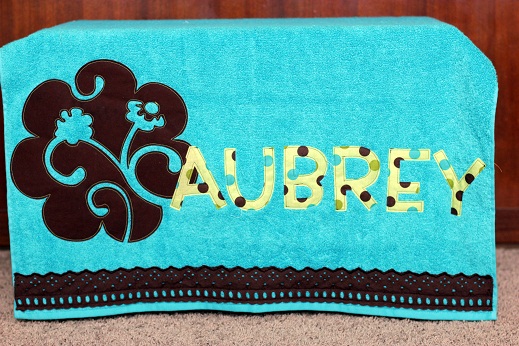
I use my Cricut all the time to cut fabric for applique – mostly onesies and towels but also buntings and I may even do a quilt in the near future. I did this towel for a Christmas present and cut out the flower and name with my Cricut and it was so fast and easy!
Letters are the best because who wants to cut those out by hand? Not me. I almost always use the Simply Sweet cartridge when I do letters – it’s perfect for boys and girls and I just love it.
Using a Cricut to cut fabric is so easy. Here’s how I do it:
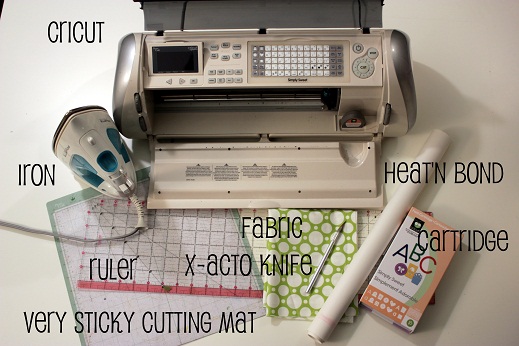
SUPPLIES
You’ll need a(n)
- Cricut and cartridge
- iron
- ruler
- cutting mat (sticky is best, I spray mine with Krylon’s Easy Tack)
- X-ACTO knife
- scrap fabric
- Heat’N Bond
INSTRUCTIONS
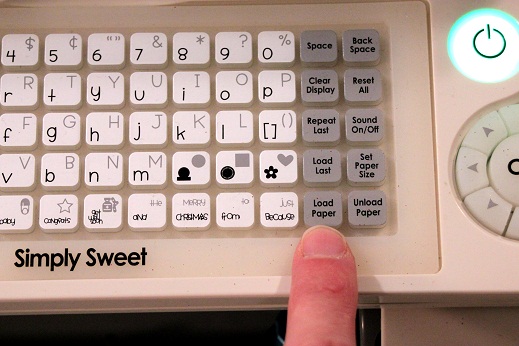
1. Load a blank cutting mat into the Cricut.
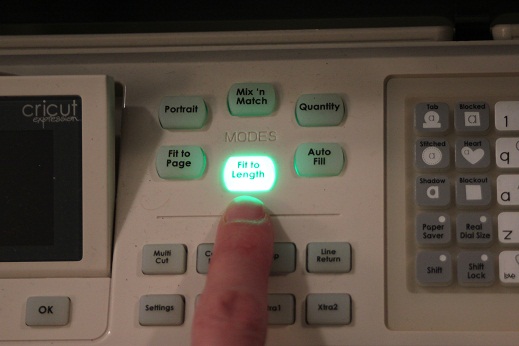
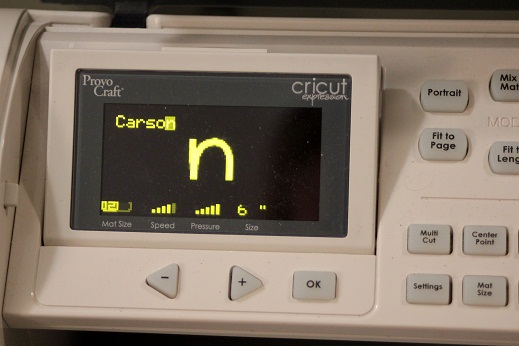
2. Select the “Fit to Length” mode.
3. In Fit to Length mode, the size dial controls length. Key in the design/word you want to cut and set the size dial to how long (instead of how tall) you want the total design to be.
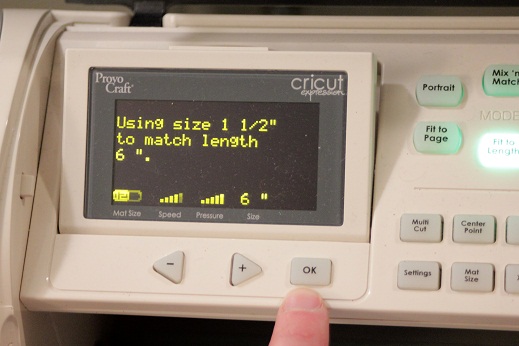
4. Press OK. The screen will then give you the height and length of the design you will be cutting. Sometimes it takes adjusting the length to get a total length/height that will work. If you change the length just push the OK button again to see the new size.
I find this method to be best because when I applique I usually have a very specific space to fill and I need to make sure the height and length are right. This way cuts out the guessing about the size of the cut shape which also eliminates frustration and wasted materials.
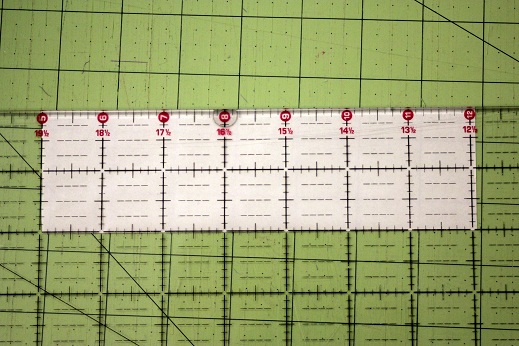
5. Cut a piece of Heat’N Bond slightly larger than your designs dimensions.
I know my design will measure about 1 1/2″ x 6″ so I cut a piece of Heat’N Bond measuring about 2″ x 7″.
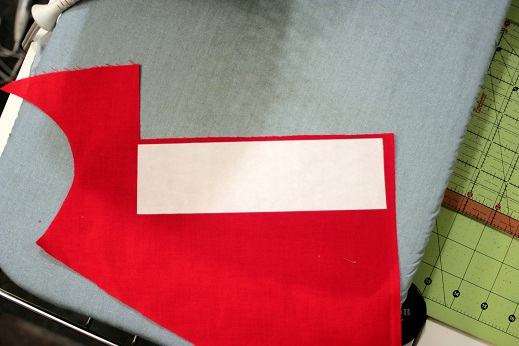
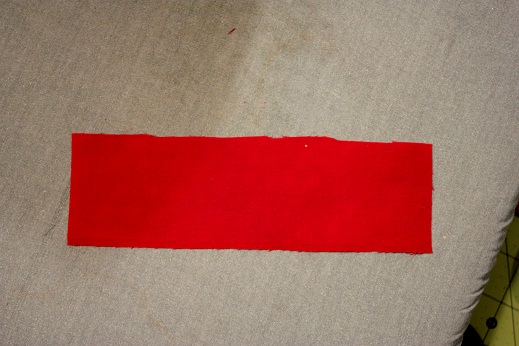
6. Press the Heat’N Bond to the fabric.
7. Trim closely around the Heat’N Bond and LEAVE THE PAPER BACKING ON.
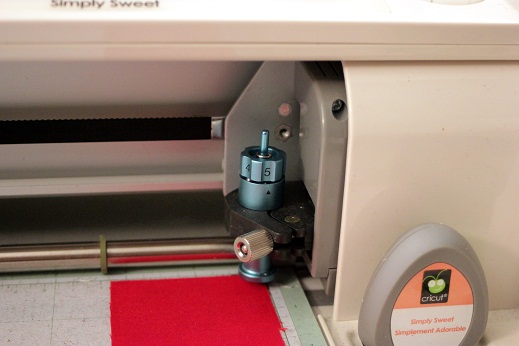
8. Unload the mat, stick your fabric/Heat’N Bond onto the mat and reload. Set machine as follows:
Deep Cut Blade
- Blade Depth: 5
- Machine Pressure:5
- Machine Speed: 4
Regular Blade
- Blade Depth: 6
- Machine Pressure: 5
- Machine Speed: 4
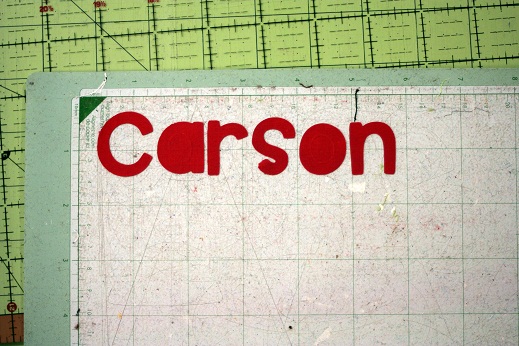
9. With machine set as above, CUT!
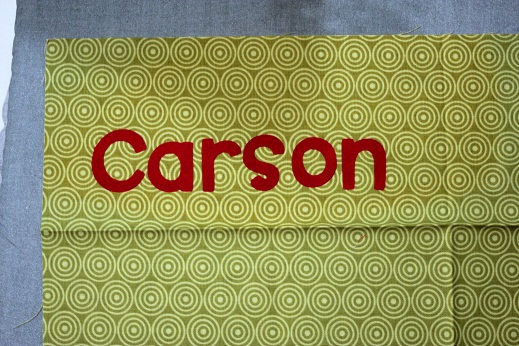
10. Remove design from sticky mat, peel off the paper backing, position design on fabric and press to set in place.
11. With a sewing machine edgestitch around each edge in the entire design. If I’m doing a towel I use the same color thread on the back and contrasting on the top.
Buying cartridges has so much more appeal when you can use them to cut paper and fabric designs…Now you can applique everything you own! Have fun!


{ 23 comments… read them below or add one }
{ 2 trackbacks }