The key to a great pie this Thanksgiving is a great pie crust, of course. I went to a little class recently (taught by Erica Miller) about making pie crusts, and I learned some pretty great tricks. Here they are, just for you. (Click here for just the basic pie crust recipe)
Part I: The Pie Crust
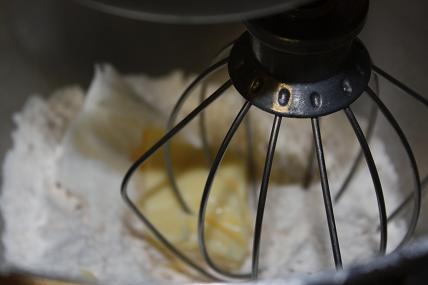
With a stand or hand mixer, cut the following ingredients together:
- 3 c. flour
- 1 t. salt
- 3/4 c. lard or shortening
- 1/2 c. butter
In a separate bowl, whisk together
- 1 egg
- 1 T. vinegar
- 5 T. cold water
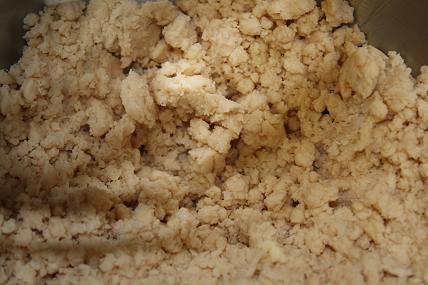
You should have little balls the size of peas.
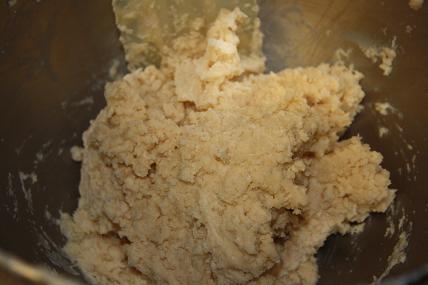
Combine the two mixtures until just mixed. Cover and allow to rest 5 minutes before rolling out. This recipe makes 2-3 pie crusts.
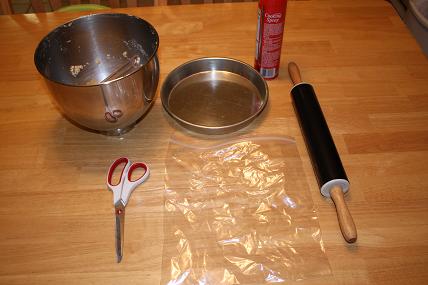
This is the tricky part – the rolling out. You’ll need:
- The dough
- A pie plate (or round cake pan if your one pie plate is currently occupied by pie)
- Cooking spray
- Scissors
- Ziplock bag – gallon size
- Rolling pin
 |
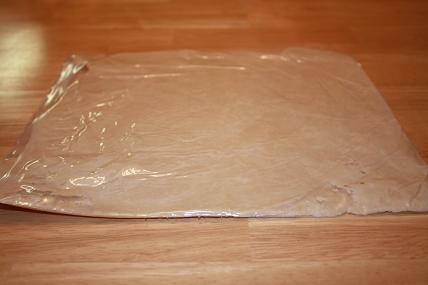 |
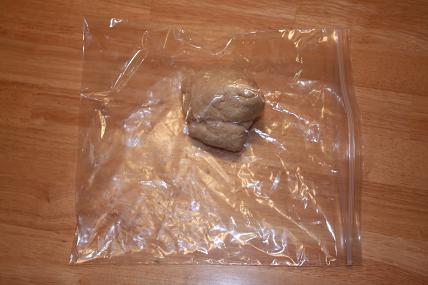
For one crust, put half the dough in the Ziplock bag. Smoosh together and place in the center of the bag. Leave the Ziplock bag open and roll out the pie dough so it completely fills up the bag.
Important Tips:
- Place both hands side by side in the center of your rolling pin and press down there rather than using the handles. This creates more even pressure for a more uniform pie crust.
- Roll only in one direction to avoid over rolling. Start in the center and go out, come back to the center and go to the side, etc. Don’t roll back and forth.
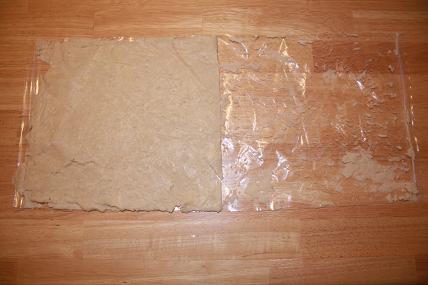
Cut down both sides of the Ziplock bag and pull the bag open.
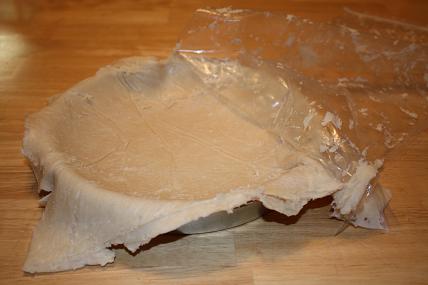
Lay the pie crust on top of your pie plate/pan and gently separate the crust from the bag.
Rolling out the crust like this is soooo easy and you don’t have to add any extra flour so you end up with a perfectly flaky and delicious pie crust. The dough doesn’t stick very much at all to the bag and it comes off really easily.
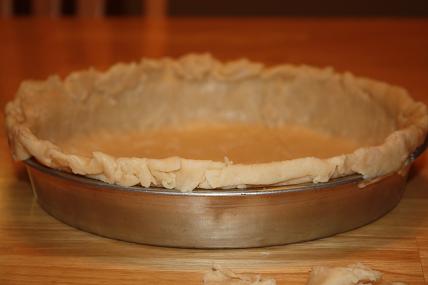
Press the edges up so that the pie crust stands about 1/2″ above the rim of your pie plate.
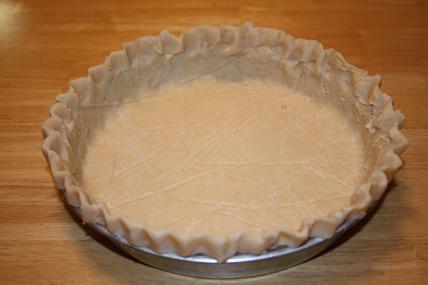
Pinch the dough between your index finger and thumb/middle finger to make that pretty edge. I’ll have to make a video of this part because it’s kind of hard to explain.
Poke the crust all over with a fork and blind bake at in a 450 degree oven for 15-20 minutes. If you’ll be making an apple or other fruit/baked pie, bake according to recipe instructions.
That’s it! This method of pie crust making is super easy and pretty much foolproof and fail safe. Enjoy your yummy pies this Thanksgiving!
{photos taken with a Canon Digital Rebel XSi}


{ 6 comments… read them below or add one }
{ 1 trackback }