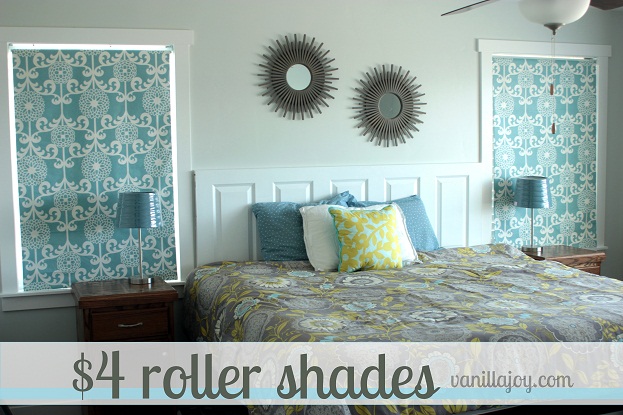
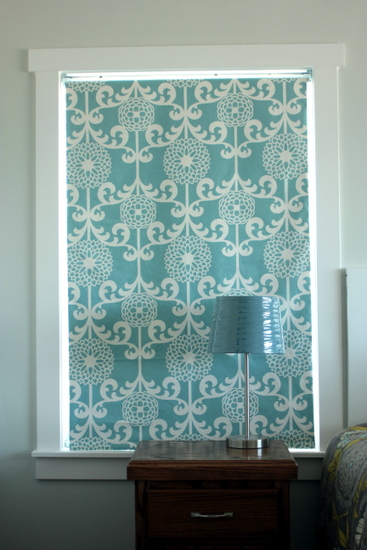
I love windows and I really love window treatments. Lately I really REALLY love roller shades, especially in a room with lots of windows. Some need regular curtains and some need roller shades! These windows were screaming roller shades right in my face.
So I bought two of the $4 kind from WalMart and fixed them up a bit.
It’s a very easy late night project. Here’s how to do it:
1. Attach the hardware (sold separately at Walmart) in the window BEFORE you even touch the roller shade. I didn’t do this on my first one and I’m going to have to redo it cause the measurements aren’t right. Gah!
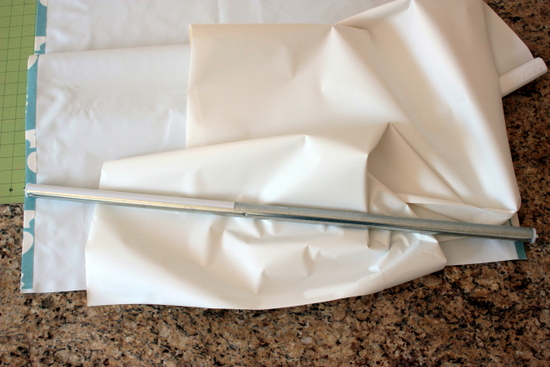
2. Take off the plasticky fabric that comes attached to the roller bar and hang it in the window – the WalMart kind is adjustable so get it to fit just right and then measure the bar. The width of the finished shade should be about 1/4″ less than the width of just the metal part of the adjusted bar.
Now for a bit of strategy:
You have some choices here. You can
- line pretty fabric with the stuff that came on the shade
- line pretty fabric with black out fabric (this is what I use for everything) OR
- just use pretty fabric
I did option #2 cause I wanted them to keep our room really dark in the morning. I like to sleep until 8 if possible, thankyouverymuch.
Black out fabric is pretty bulky, however, so rolling the shade up takes some patience but it totally works and rolls all the way up. It just doesn’t do it in a single flick-o-the-wrist.
The rolling is much smoother if you just use fabric or use the stuff that came on the shade (which is much lighter weight than black out fabric).
If you don’t want to line the fabric at all, the instructions will be the same, you’ll just hem the edges instead of wrapping them around the lining.
Mmmkay?
3. Cut the length of both the lining and the exterior fabric – cut both about 3″ longer than the total height of the window you’re covering.
4. Measure the adjusted roller bar and cut the lining width that measurement – 1/4″. So the lining is the (height of the window + 3″) x (the width of the roller bar – 1/4″).
Got it?
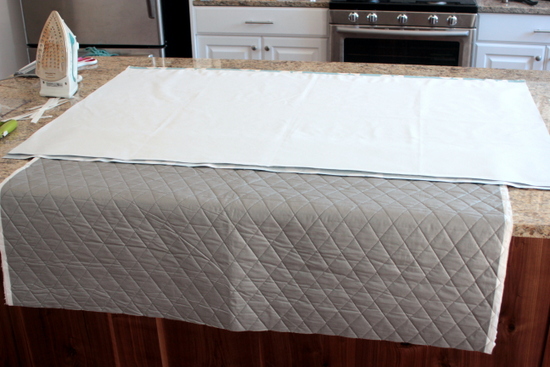
5. Lay your exterior fabric right side down on the table and put the lining fabric (also right side down) directly on top of the exterior fabric with excess to either side. The lining and exterior fabrics should be the same length but different widths.
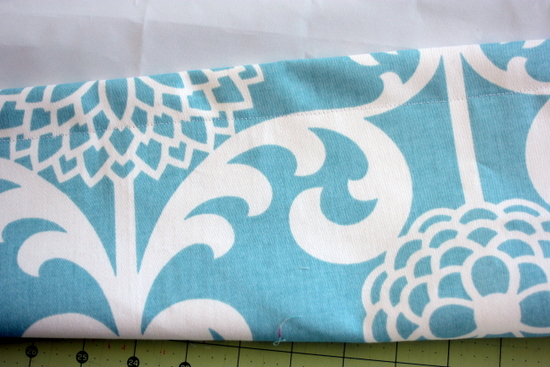
6. Cut the exterior fabric 3/4″ wider on each side of the lining fabric (as shown above).
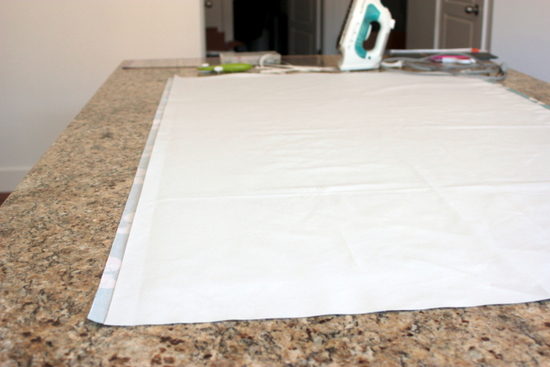
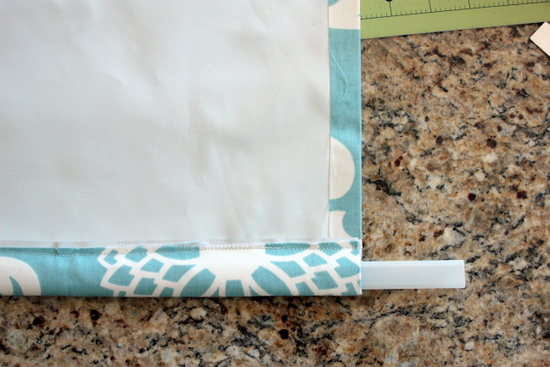
7. Press hem tape along the length of the lining fabric and remove the paper backing.
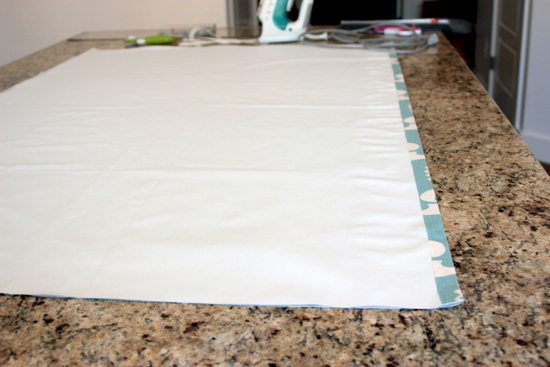
8. Fold the exterior fabric up over the edge of the lining and press in place. Do on both long sides.
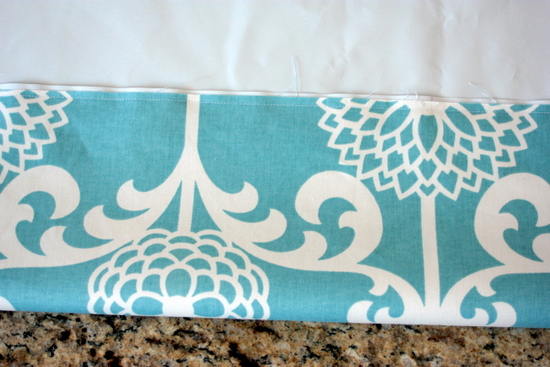
9. Choose one of the short sides to the the top and sew the lining and exterior fabric together right along the edge.
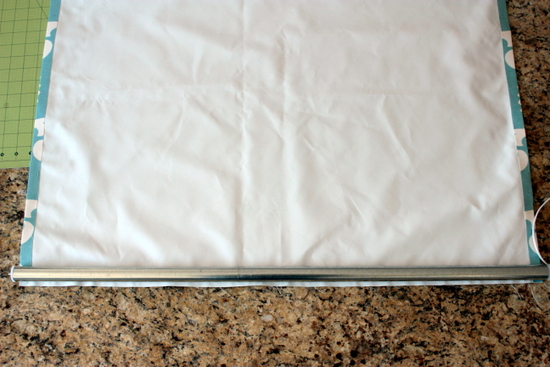
10. The roller bar has a sticky strip – place the top edge of the shade on that sticky strip and run a thin line of hot glue right along that top edge to really secure in place.
11. Hang in the window and mark where the finished bottom edge should be. Fold up and hem – you may need to trim some fabric off, just make sure your finished hem is at least 1″.
12. Insert the plastic bar from the original roller shade into the hem to weight it down. Trim the excess length if necessary.

And THAT, my friends, is it. Super easy and BEAUTIFUL.
Fresh pillows are next…


{ 5 comments… read them below or add one }
{ 1 trackback }